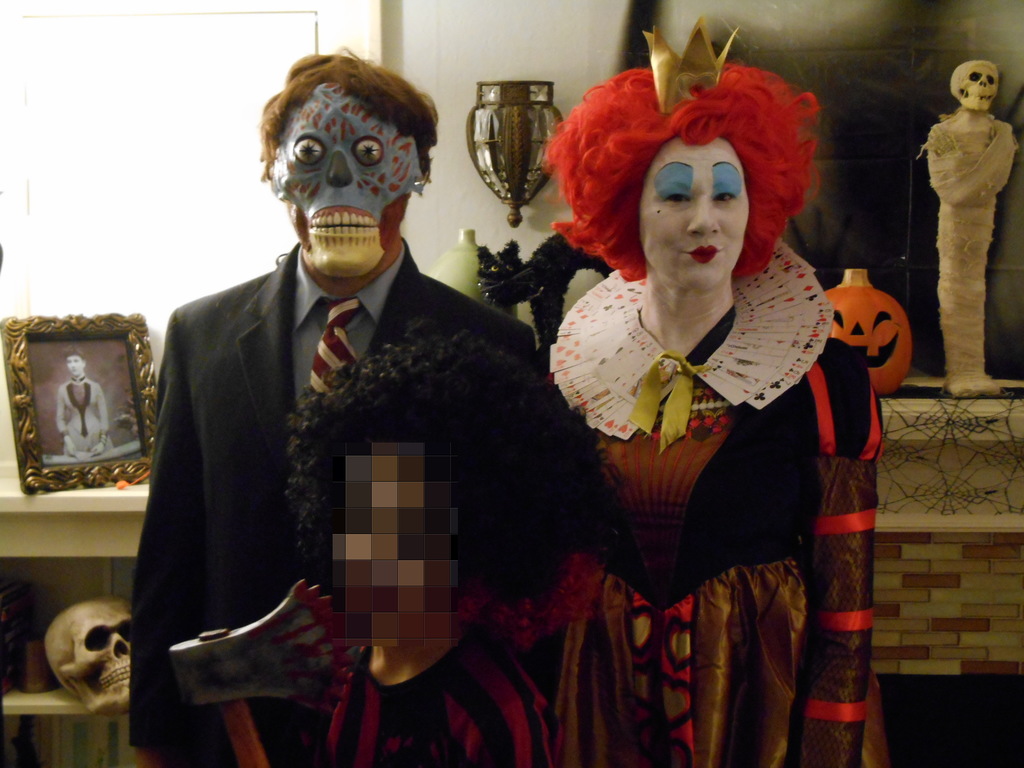
"They Live" mask
2020 Update:
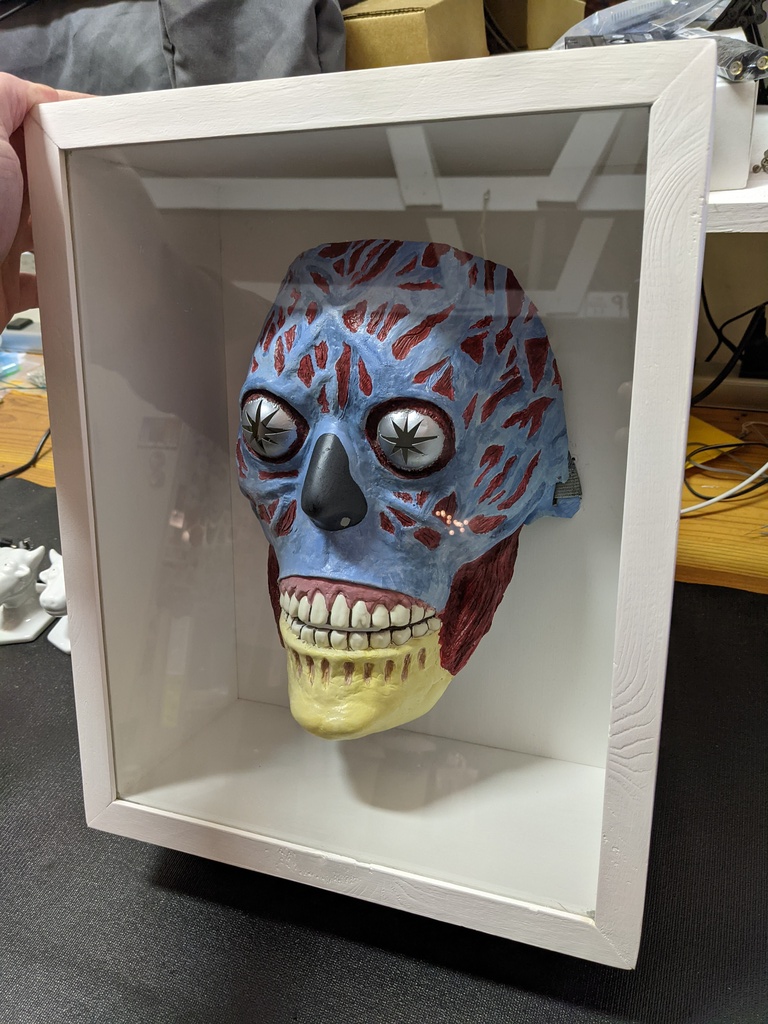
I decided after 5 years that it was a shame to have this mask that I made just sitting around collecting dust...so I decided to build a custom shadowbox to display it. Here it is, now behind glass:
It is now able to be hung on the wall and preserved for all eternity.
Read on below for a description of the motivation and build process.
OBEY.
Background:
In 2015, "Rowdy" Roddy Piper (wrestling legend and Hollywood actor) passed away. Piper was the star of the 1988 John Carpenter classic sci-fi movie "They Live", a movie that had a profound impact on me as a teenager. I rewatched it in 2015 and was reminded just how amazing this film is, especially for its time.
I was particularly impressed by just how insane looking the alien creatures were. I thought that the alien shapeshifter would make a great, simple Halloween costume and soon discovered a full mask available for purchase:
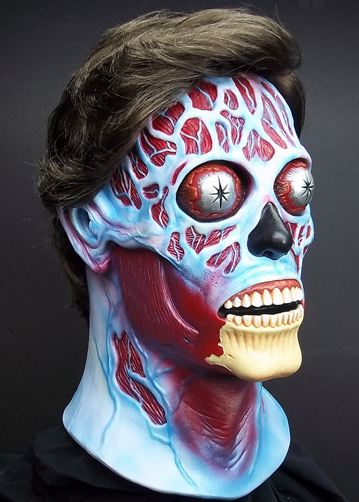
It's a really sweet mask, but I always enjoy costumes that are a little more DIY, and the thought of actually wearing a sweat-filled tight latex mask for hours seemed awful. I wondered what it would take to make one myself.
Inspiration:
Soon , I found a basic instructible had decent instructions but didn't look super great. I also found this youtube video that showed the steps followed by some other makers, and the results were much better. The creators of that video describe their project in slightly more detail over here. Looks pretty great:
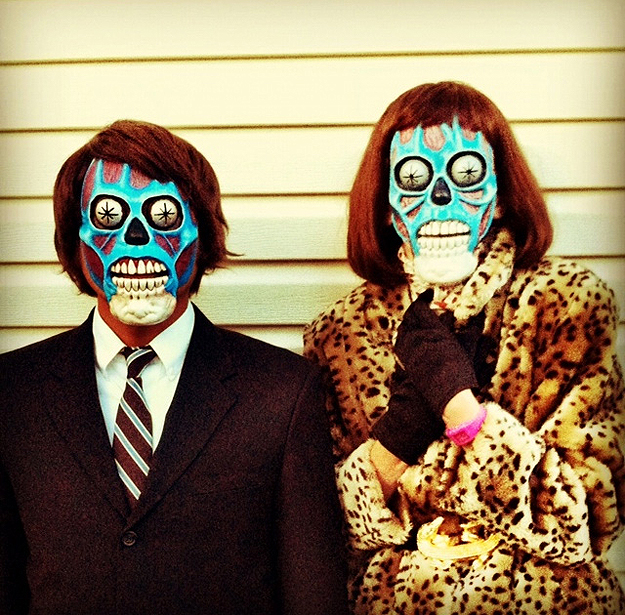
Later, I found a shapeways project that somebody built and you could have 3D printed for a whopping $140. It looked nice and had a lot of deatil, but... ouch.
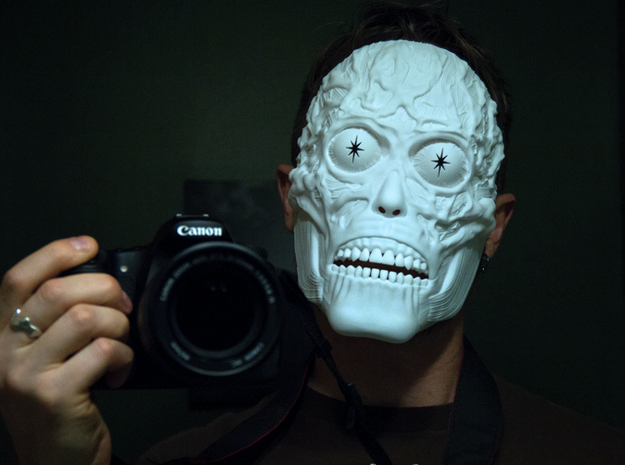
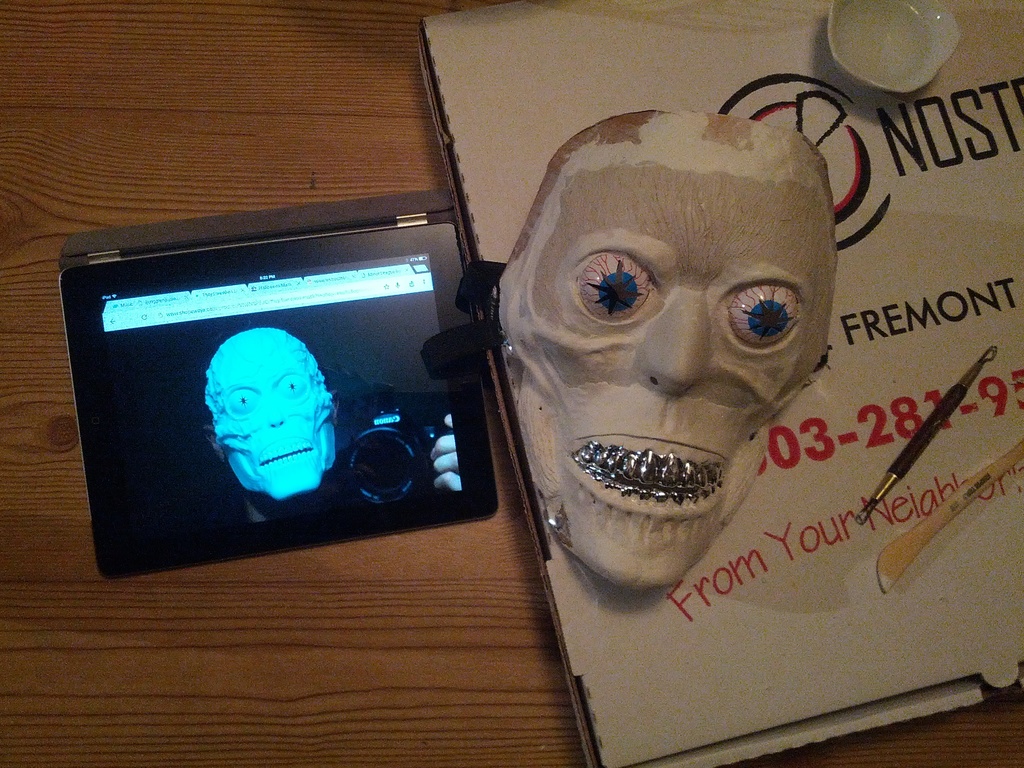
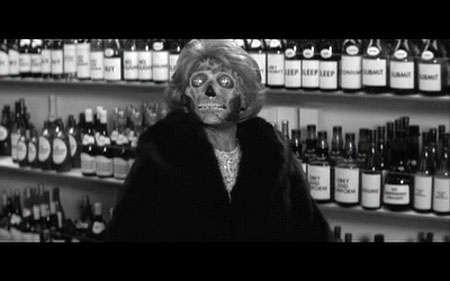
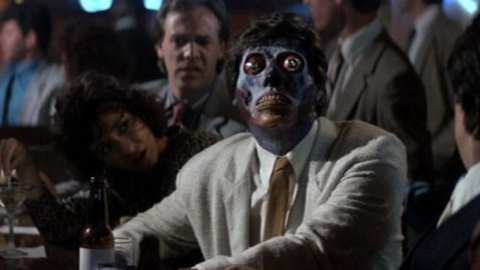
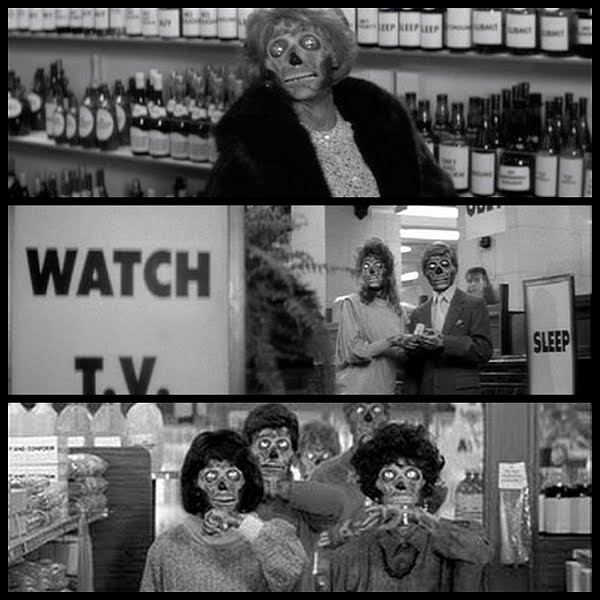
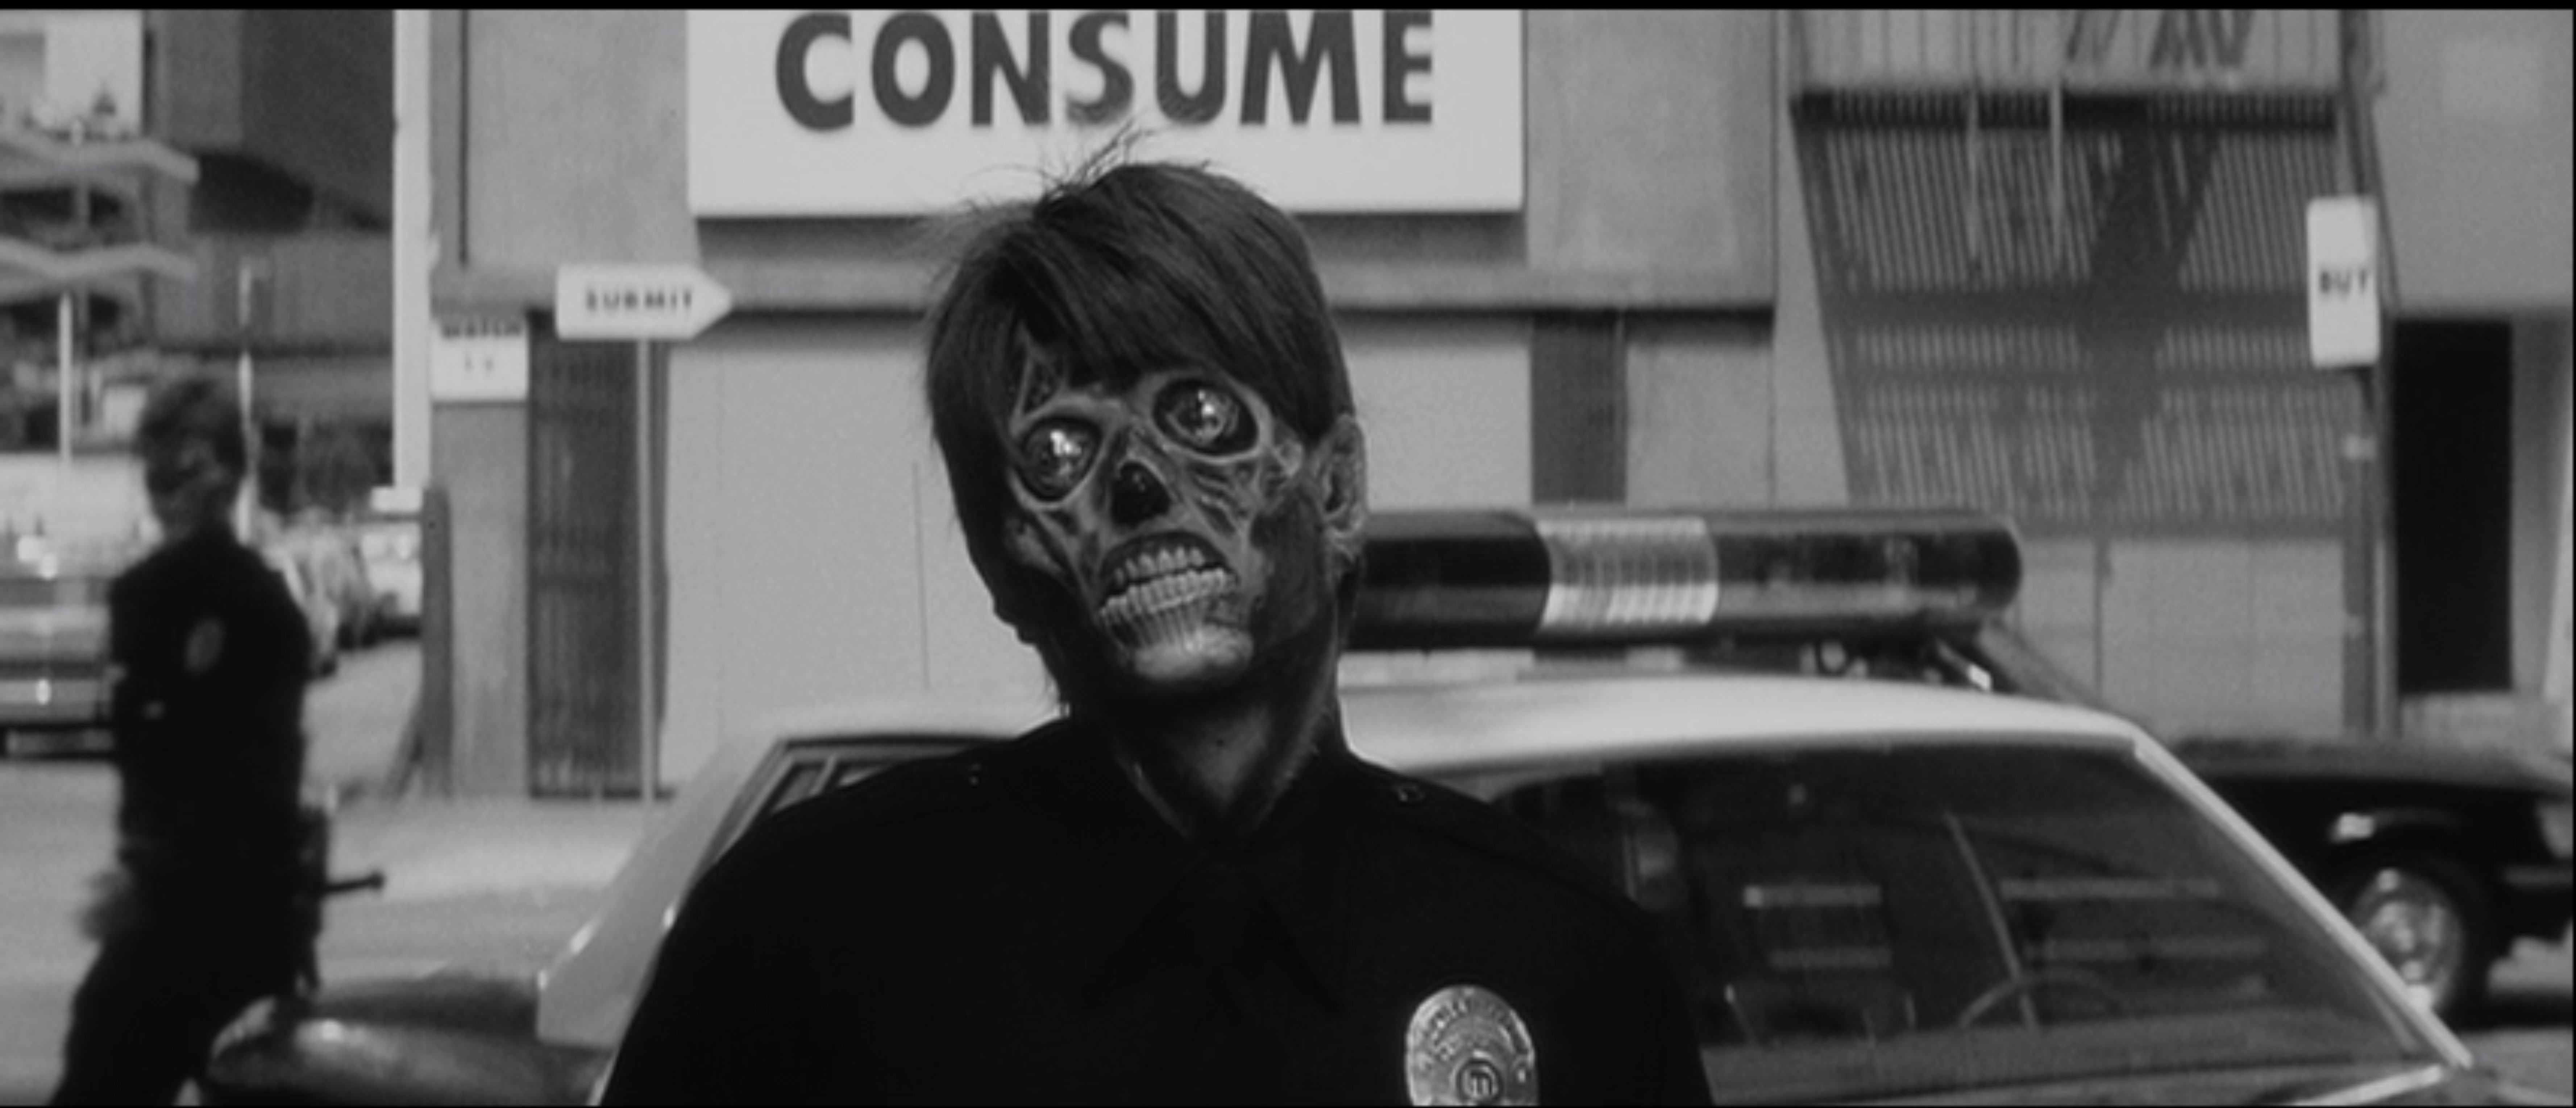
So I started with those resources and some stills from the film:
The Build:
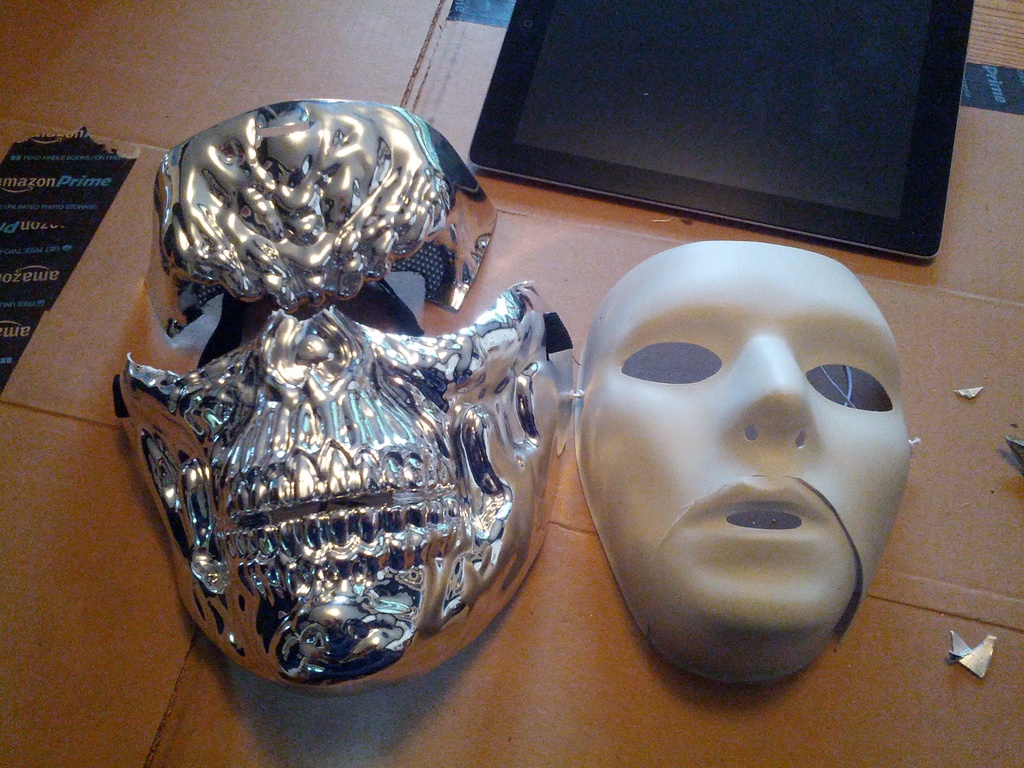
Just like the above-mentioned instructable, I started with two masks -- one a plain white costume mask and a chrome one with big skeleton-like teeth. I bought them at the seasonal Halloween store for about $4 for the white and $12 for the chrome:
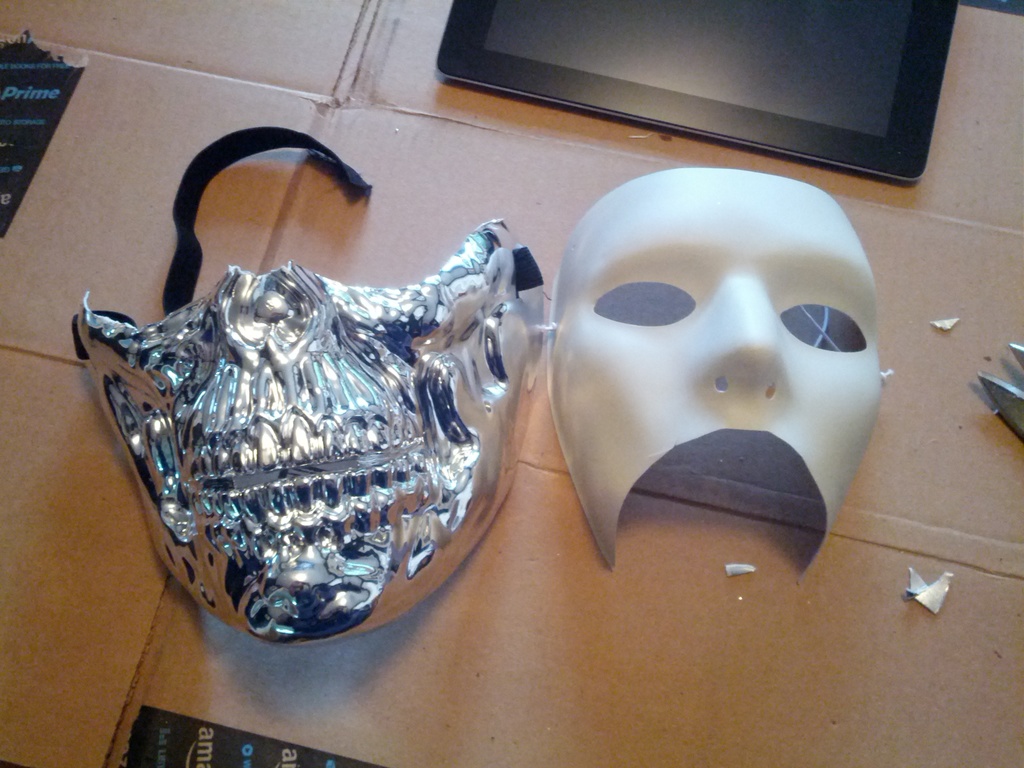
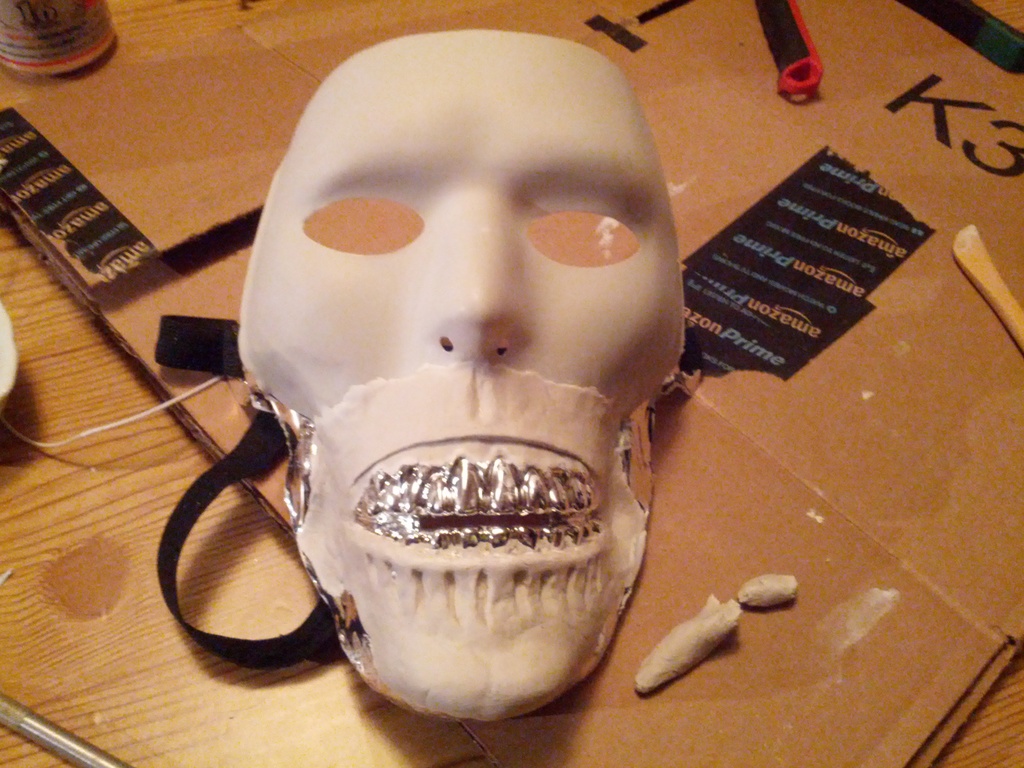
I cut them apart (using scissors and tin-snips) with the white mask on top and the chrome skeleton mouth on the bottom. I wasn't sure if I was going to use the elastic band from the skeleton mask, but I left it attached and did end up using it.
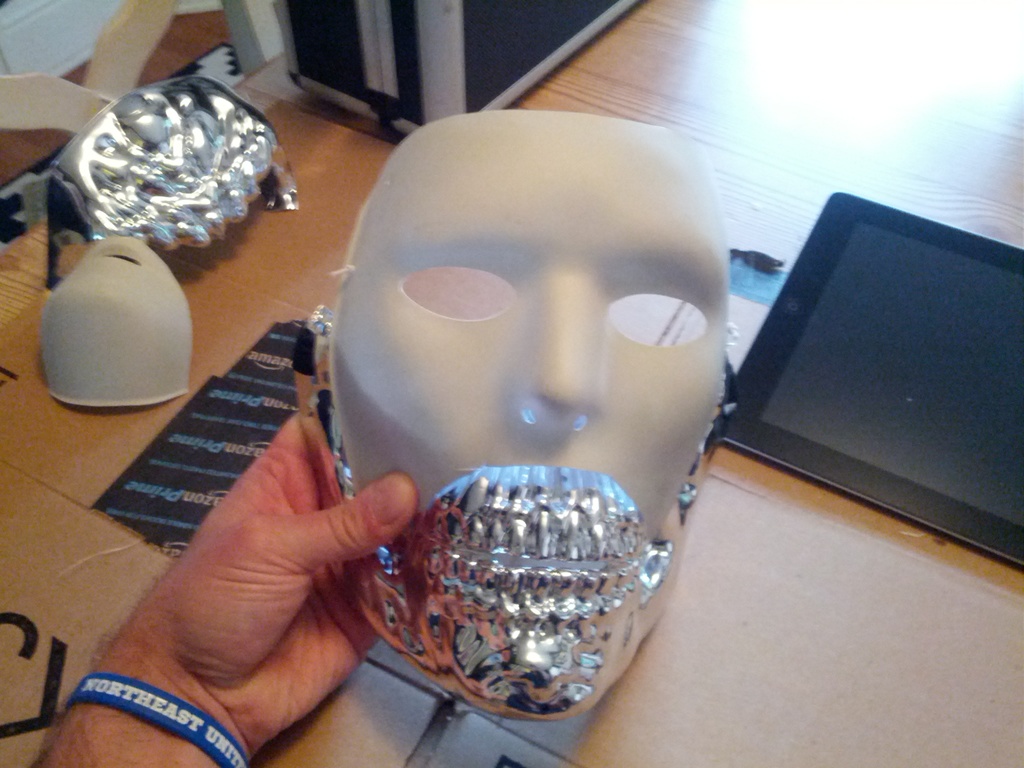
I positioned the mask-halves at about the right place and hot-glued them together (and burned my fingers in the process).
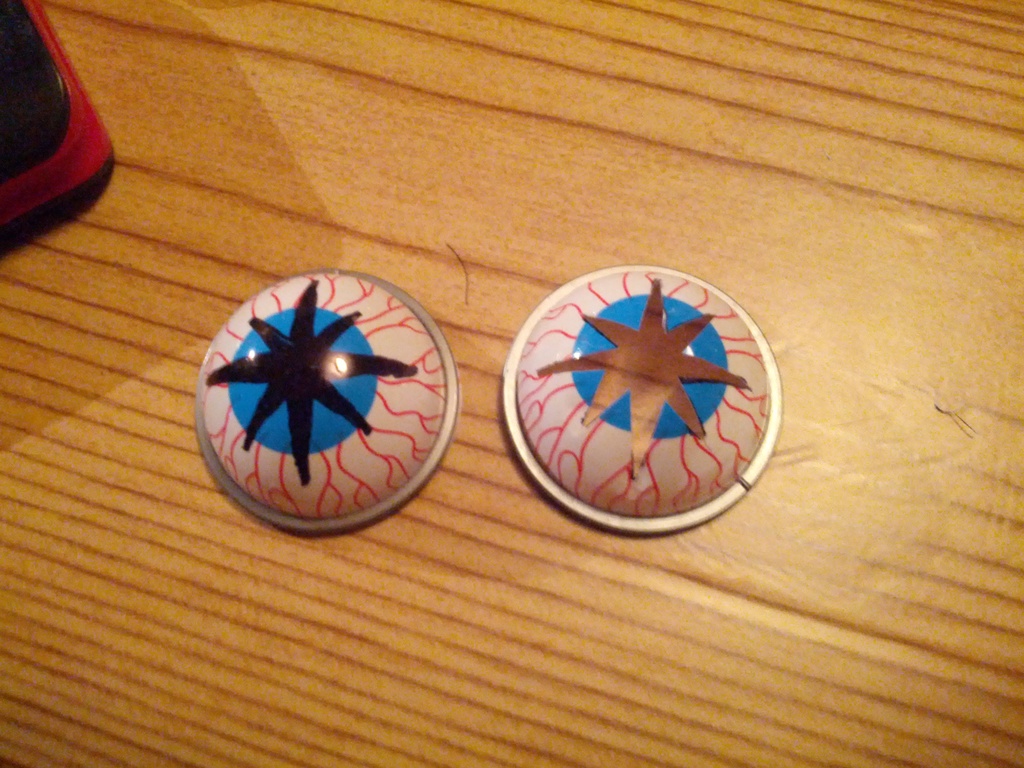
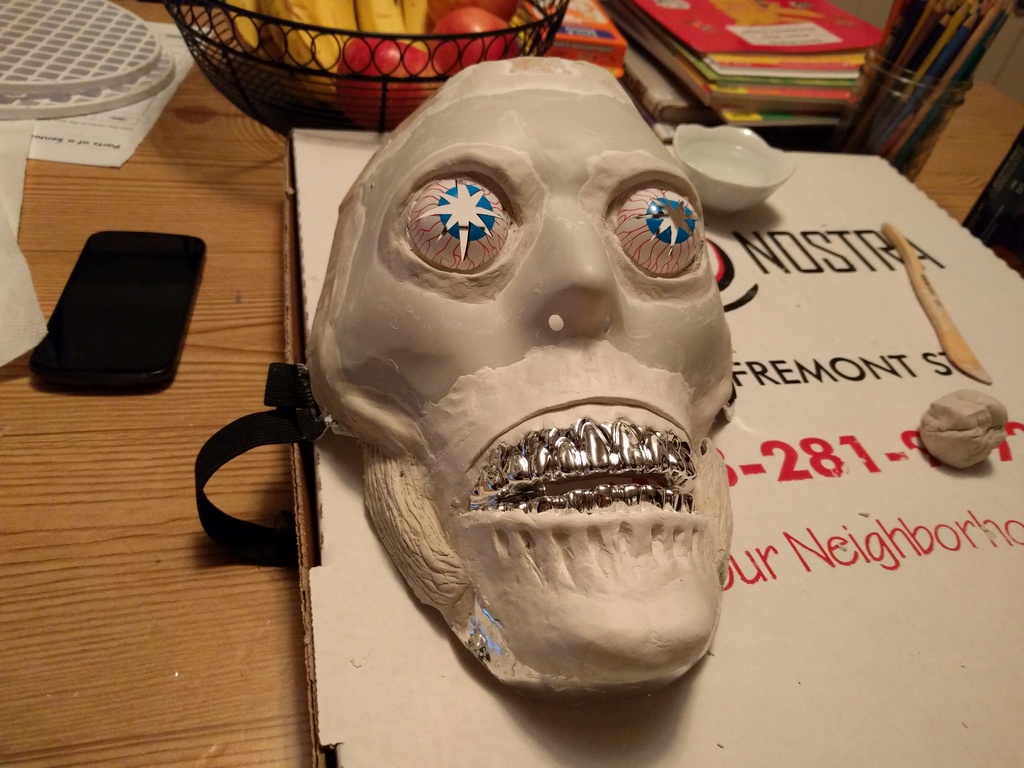
Again, just like the instructable, I made the eyes from joke eyeball glasses (you can buy them at Amazon). I used a sharpie to draw the star pattern and then cut the pattern out with a hobby knife and scissors.
Using some DAS air-drying clay that I purchased at a local art supply store, I first built up the chin and mouth area. I did lightly sand the masks first, to give the clay a bit of a rougher surface to adhere to.
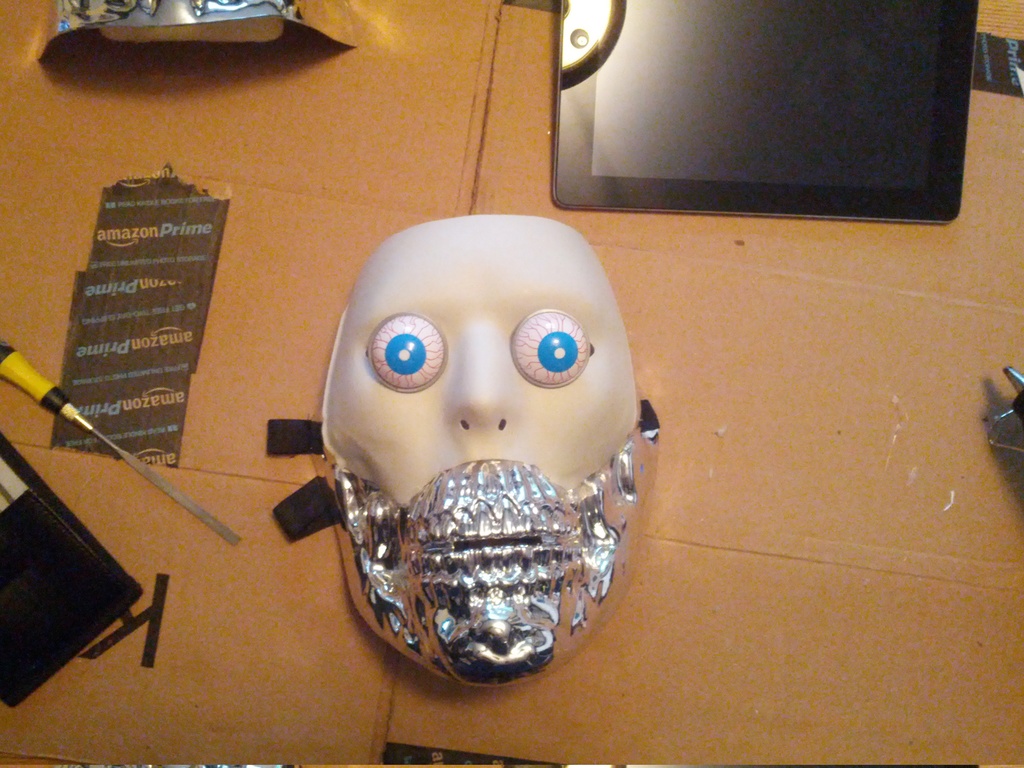
I tested the eyes, and thought they looked too bulging when just mounted on the front of the mask:
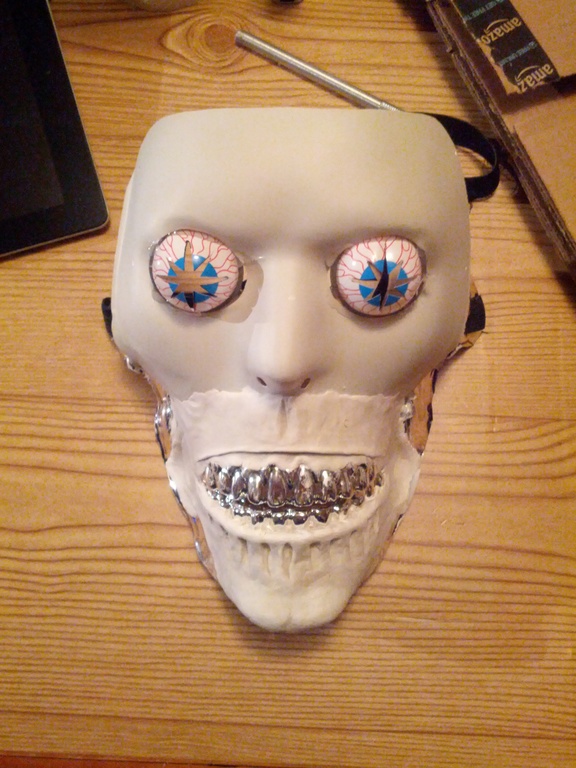
So I used a hobby knife and scissors again to open up the eye holes so that the eyes could be mounted from behind. I glued them in place with hot glue, and probably burned myself again.
I wore the mask a few times to check sizing and my wife pointed out that the mask was too small for my giant head. It looked a little off, so I made the forehead and temple area larger with 3 pieces of cardboard hot glued to the back of the top mask. I smoothed out the junction to the cardboard with wet clay and started building out the eye sockets and jaw musculature.
Next was to build up the cheekbones and start adding texture to the smooth white mask. I watered the clay down quite a bit to make it soft and used a toothpick to carve in texture lines. Starting to look like the target!
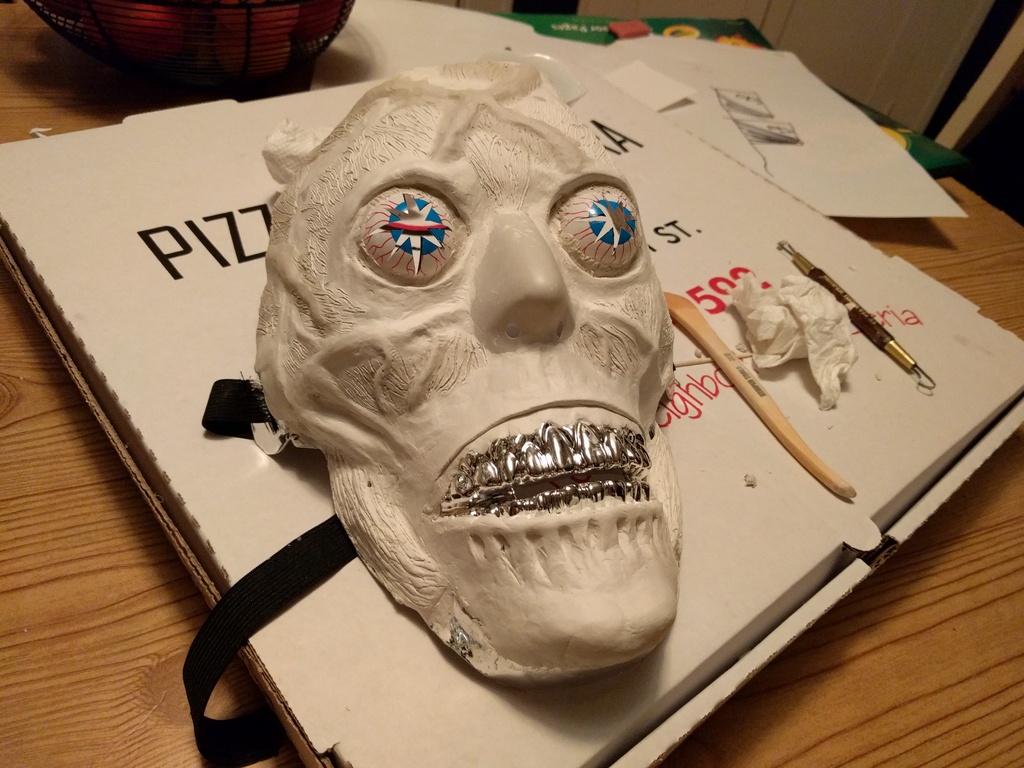
Add some more skin/gore texture:
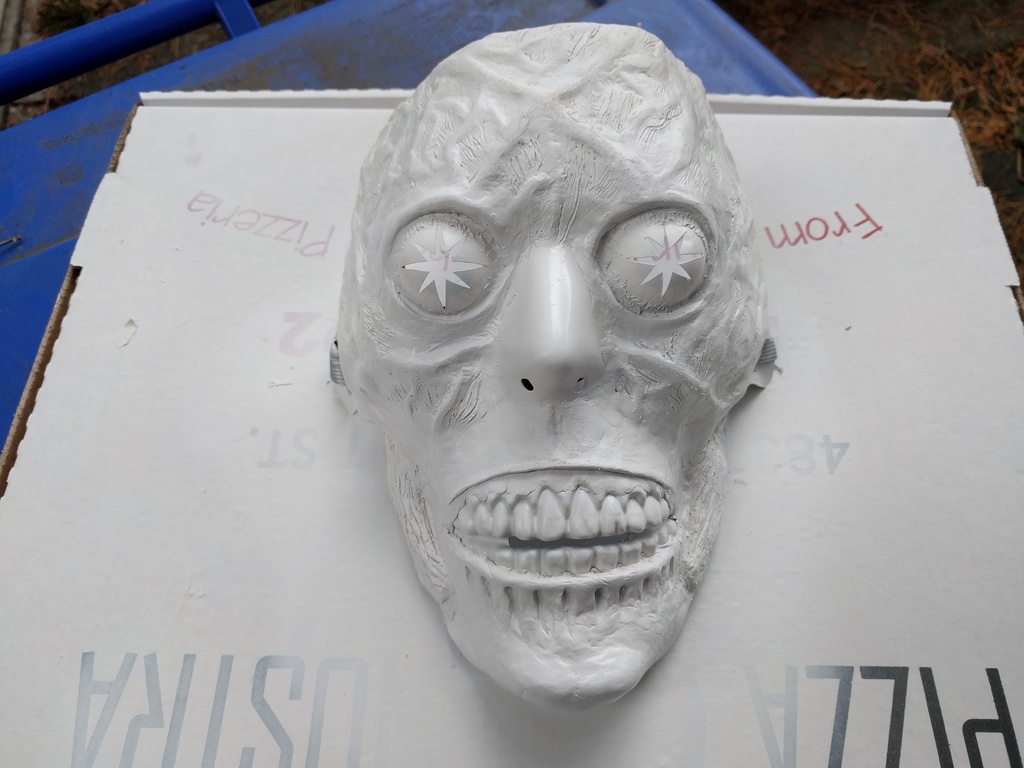
I added a bunch more skin/gore and sanded down the high parts and gave it about 3 base coats with flat white cheapo spray paint. With this base coat in place, it almost looks like the shapeways model. Almost.
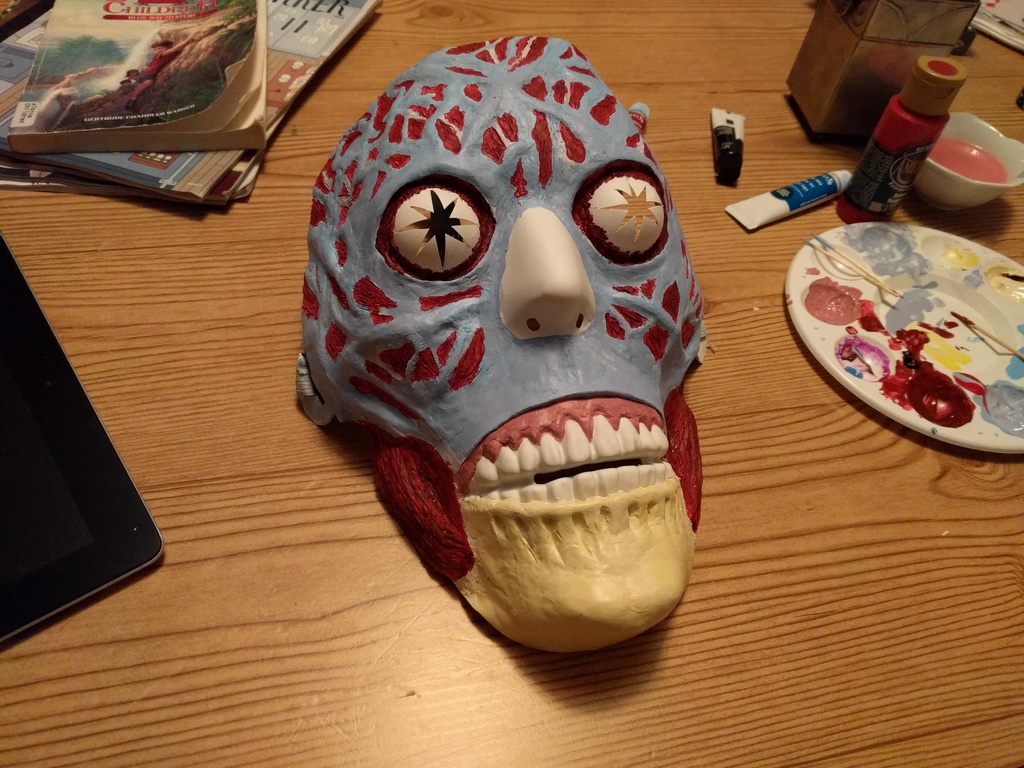
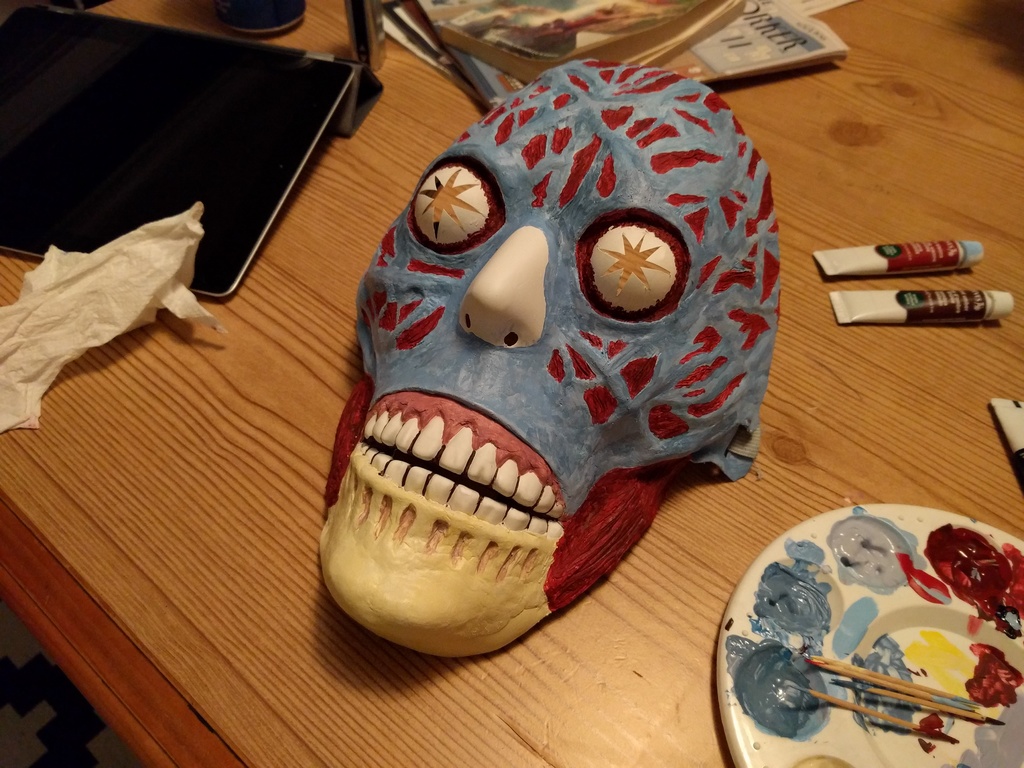
Time to paint! I used some water-based hobby acrylics that we had on-hand. I feel like I'm terrible with colors and that color mixing is real hard...but I somehow made it start to look pretty decent:
Darken the reds a bit, add another off-blue-gray color for texture, brown in the jawbone grooves and very dark brown bewteen the teeth the give some separation. The teeth grooves were the hardest part of painting.
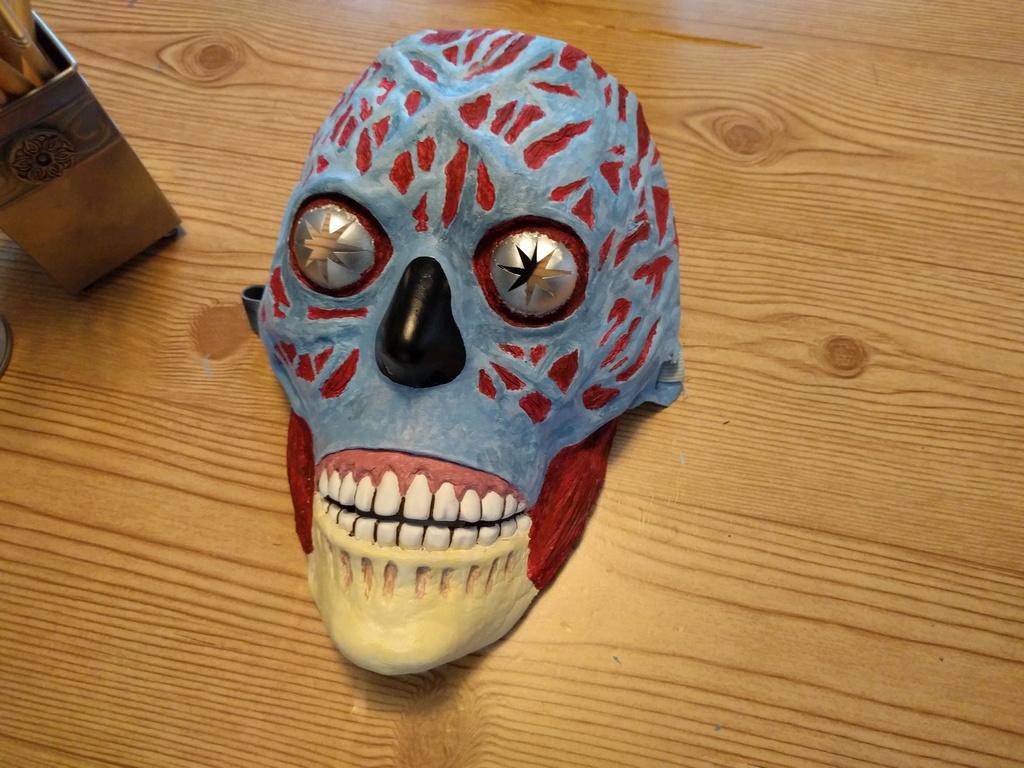
Paint the nose black and use brush-on chrome spray paint for the eyes:
To finish the paint, I sprayed a clear coat over the entire thing. It was raining hard this Halloween, and I didn't want to risk the acrylic paint getting wet and dripping. The clear coat also binds the whole thing and adds some final structure. I only had satin on hand, which I mistook for flat, but it worked out really nicely and added a slightly wet feel and I think might have actually turned out better than flat would have.
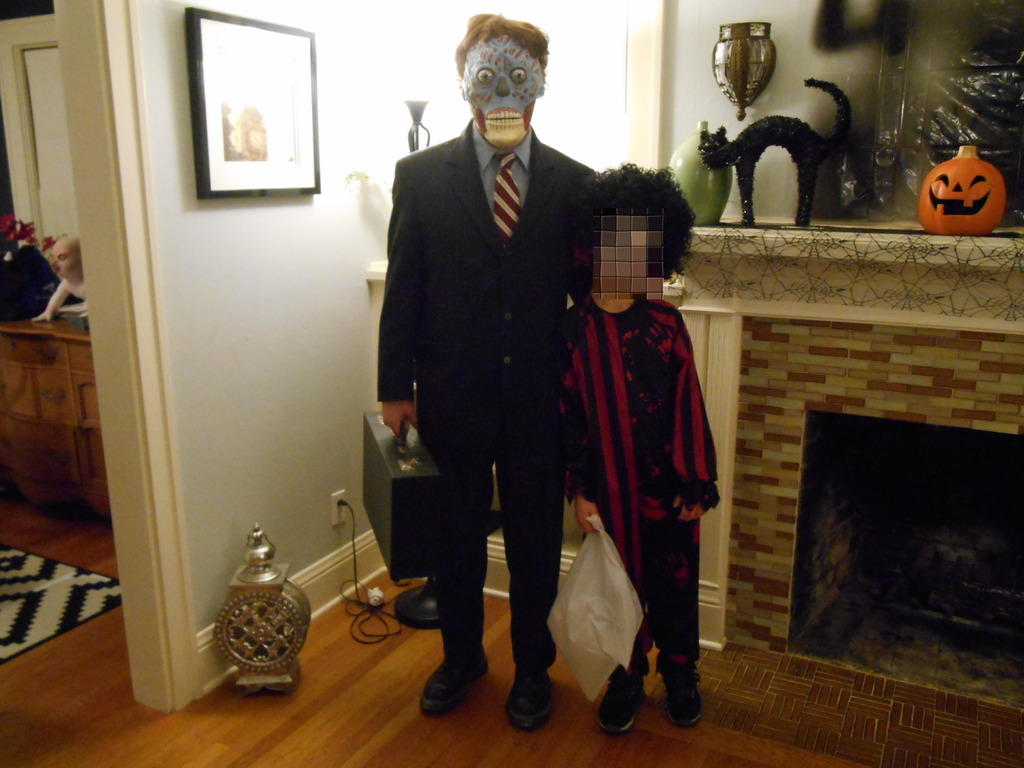
Time to put on a suit from Goodwill and the 70s cop wig from last year. Trick or treat. OBEY.
Conclusions:
I'm pretty happy with how it all came together! A few things I might have done differently:
- Elastic strap - I'm very glad I kept this in place, because it prevented me from having to find another way to wear the mask and the sizing was pretty great. I do wish I would have added a vertical top strap to better keep it in place, though, and I'm not thrilled about the rough tabs that stick out where the elastic is fed through on the sides.
- Nose holes - I should have opened these up a bit to help with breathing/ventilation.
- Mouth position - The mouth mask part probably should have been mounted 1/8-1/4" higher toward the nose. I feel like the spacing is a little large and fake since it drops below my chin.
- Clay -- I wasn't sure which air-drying clay to use but the DAS stuff I ended up with worked fantastically! The dry time was just a few hours (even in Oregon humidity) and I was able to keep a nice wet working surface with a little water.
- Smoothing - There are some rough junctions between the mouth gum-line and teeth that I should have smoothed out more. I did the mouth pretty early in the process an didn't realize how much it would show in the final. I should have spent more time overall making those junctions smoother.
- Cardboard - Not the best thing to use to make the mask bigger. I should have used some plastic but didn't find anything suitable on hand. I worry about the cardboard failing or just getting gnarly over time.
- Inside padding - I should have cut up an old t-shirt and glued it inside or something to make the mask more comfortable to wear. Nothing on the inside digs too deeply, but a little padding there could go a long way for wearability.
- Visibility - You get surprisingly good visibility through those star-shaped cutouts in the eyes but also get very little peripheral vision when wearing the mask. Not sure what can be done to improve that...I think it's just part of the design. I was able to walk around at night in a downpour without falling, so yeah, it's not awful but worth noting.
- Props - I had hoped to make a "They Live" style newspaper or magazine but ran out of time. I wouldn't have been able to use it in the rain anyway, but feel like it'd still be a useful prop.
- Clear coat kills chrome spray paint - I originally painted the silver eyes before applying the final clear coat and discovered that the clear coat took all the shine out of the eyes! It completely dulled the chrome silver and I had to repaint the eyes afterward.
The full image album is over here: http://noisybox.net/photos/2015
