Zine Imposition and Gimp
Last updated Jan 27, 2025.
Recently, as part of another unfinished project, I finished work on and printed a zine I started back in 2023. There are plenty of tutorials and preexisting templates on the web for making your own zine...but I thought I would add another one, if only because my approach might be slightly different and future me may try and remember how I made all this work.
The design
We are creating a center-fold saddle-bound booklet. Each physical sheet of paper will result in 4 zine pages, 2 on each side.
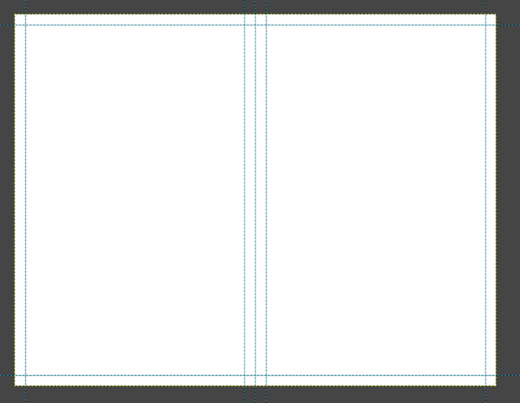
I start with a blank template for Gimp, and I copy it to a new document any time I start working on content. This template just provides a foundation that includes the following:
- Blank white US-letter size background in landscape orientation
- Guide down center line
- Guides for 1/4" margins on every side
- Guides for 1/4" margins on each side of center fold line
It basically looks like this (the gray part is gimp's background, and is not actually part of the template):
You can download this template here: template.xcf
I save each page in order, starting with 01.xcf as the back and front covers, then
02.xcf being the inside front cover and first page, then 03.xcf being the next
thing when you turn the first inside page, etc. until finally nn.xcf is the final
page before the back cover. All these pages are in just plain human-understandable
order.
The only one that might be slightly confusing is the first page: The left side is the back cover and the right side is the front cover.
You artwork may spill over into the 1/4" margin if necessary, but for most cheap zines your printer won't do a full bleed (effectively printing to the edge of the page), which means that anything in that 1/4" margin is questionable. Best not to put anything important/necessary in that margin area.w
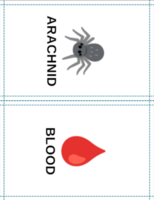
When the design/layout is complete, the set of files will look something like this:
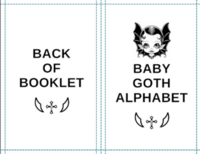
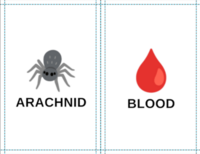
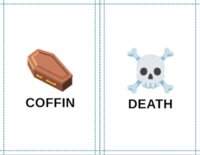

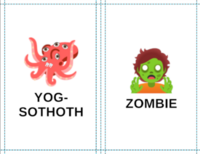
In this configuration, we want the arachnid to be inside the front cover, and the zombie is just inside the back cover.
Because each physical page results in 4 zine pages, and because each .xcf file has
2 zine pages in it, the number of zine .xcf files should be a multiple of 2.
The process below might give weird (incorrect) results if this is not the case.
When we are happy with all of our pages, we can move on to the next step.
Initial rotation
We will keep the original .xcf files as our editable source files, and we will
work with .pdf files as intermediates along the way. I don't know why, but
it's super duper unfortunate that the versions of Gimp that I was using would
screw up text fields when saving to PDF. I researched and tried a dozen different
ways of solving this without success...but I did find a work-around: Rotating
before saving to PDF.
This sucks, but something in the rotation allows Gimp to not change/mangle the text boxes. Joy. At least there's a workaround! So I go in, by hand, in Gimp, and do a rotate clockwise, and then export each as pdf.

Make sure not to save the changes to the .xcf files, so that they are still
oriented in landscape when you want to edit them again.
Trust me, the remainder of the steps aren't nearly as painful, because we script it.
Imposition
Imposition is a step in printing that ensures that the pages are the right size and order to cut/fold/bind a zine or booklet. For our purposes, we use some tools and a script to automate this process. I often call this process "swizzling".
The script is here: build-zine.sh
You should edit this script before running it, and make sure that the number of files is correct. You can do this by editing/changing the line near the top of the script:
# Edit this to your number of xcf files
PAGES=6
The script takes just a few seconds to run. When it is complete, you will have two output
files: booklet.pdf (the final print-ready booklet in pdf format) and recombined.pdf,
a pdf where each page is a half-letter size page.
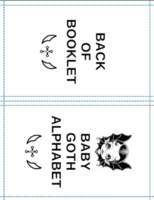
The pages in booklet.pdf will have been rearranged to look something like this:

These pages print double sided, so that page 2 is printed on the back of page 1, page 4 is printed on the back of page 3, etc. The final double-sided pages then all stack in order, fold down the middle, and can be saddle-stapled for a cheap binding.
How it works
The script uses tools from several pdf utility packages. You will need to install these and their dependencies (all exist in Debian):
- mupdf-tools
- poppler-utils
- texlive-extra-utils
The script has 6 basic phases, each with a comment above the code:
- Convert rotated pages back to landscape
- Cut each page in half to generate 2 half-size pages
- Fix page order in split-page outputs
- Pull out special case front/back pages
- Recombine all half-pages into in-order half-page pdf
- Convert half-page pdf to final booklet
You can just read the code in the script, but here are some details:
echo 'Converting each page back to landscape...'
for f in $(seq -f "%02g" 1 $PAGES) ; do
    pdfjam --landscape --angle 90 $f.pdf --outfile $f-landscape.pdf
done
We could get rid of this step once gimp is able to export xcf to pdf that isn't mangled or have text moved around incorrectly. It's a minor and simple step, though, and the output files are transient, so not a big deal.
echo 'Slicing pages down the middle...'
for f in $(seq -f "%02g" 1 $PAGES) ; do
    mutool poster -x 2 $f-landscape.pdf $f-split.pdf
    rm $f-landscape.pdf
done
The mutool poster command is normally used to take a single page and split it into
many tiled pages so that you can print many pages that can be taped together
to create a huge poster. We just split a single page into 2 pages...but when this
happens the page order is reversed so....
echo 'Fixing busted ass page order...'
for f in $(seq -f "%02g" 1 $PAGES) ; do
    pdfjam $f-split.pdf 'last-1' --fitpaper true --outfile $f-split-fix.pdf
    mv $f-split-fix.pdf $f-split.pdf
done
This reverses pages 1 and 2 in the output. I guess the last-1 is a magic incantation that
probably means something important to pdfjam. We remove the intermediate files
here and pretend they never existed.
echo 'Splitting front and back...'
pdfseparate 01-split.pdf '01_%d.pdf'
mv 01_1.pdf back.pdf
mv 01_2.pdf front.pdf
rm 01-split.pdf
That section special cases 01.pdf because we know that the left-hand side
is the back cover and the right hand side is the front cover. These specially
named font.pdf and back.pdf are mentioned in the next recombine step.
echo 'Joining pages to single pdf again'
MID=$(seq -f "%02g-split.pdf" -s ' ' 2 $PAGES)
pdfunite front.pdf $MID back.pdf recombined.pdf
rm front.pdf back.pdf *-split.pdf
This command "unites" the front, all the inner pages, and then the back all
together in normal readable order, into a final recombined.pdf. Note again
that this recombined.pdf is comprised of half-letter sized pages. We keep
recombined.pdf around for your enjoyment, but you can safely delete it
later if it offends you.
echo 'Making booklet...'
pdfjam --booklet true --paper letter --landscape --longedge \
    recombined.pdf --outfile booklet.pdf
Finally the step that creates the booklet. Phew! Lucky for us, the pdfjam --booklet knows
just how to reorder pages! The --longedge keeps all the pages with the same
orientation. If you change it to --shortedge, then every other page in the pdf
will appear upside-down, which I thought would mean that the printer would
flip on the short edge, but it's not what my printer wanted at all. Probably don't
overthink it like I did, and just leave it as --longedge.